Coconut chutney is the simple and most popular South Indian chutney. It is widely served with idli, dosa, and sambhar. You can make this coconut chutney not only for the idli, dosa, but also for the parathas, pakora, and sandwiches. Simple yet flavorful coconut chutney, you can make this at home. There are many varieties of chutney made in Indian cuisine. And all are delicious. You can add one or two more ingredients or mix it with this basic coconut chutney. The basic one is plain coconut chutney. You can add coriander, peanuts, and yellow dal. In restaurants, plain coconut chutney is very popular, and people love to eat chutney with their dosa, idli, or pakoras.
What is coconut chutney?
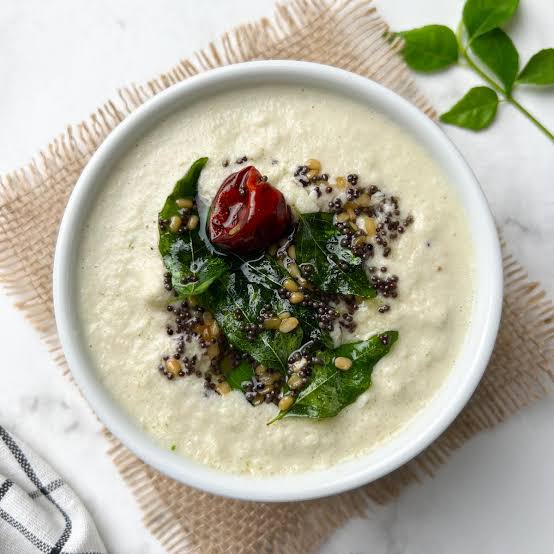
The basic method of plain coconut chutney is to take some fresh coconut flesh. Add some ginger, green chili, salt, and some water. Grind it in a fine paste like texture. After that, prepare the tempering with some oil. Add curry leaf, dry red chili, black mustard seeds, and asafoetida. Temper the chutney. You can also use mortal and pastel for making chutney. So this was the basic one. Serve this with plain dosa, masala dosa, and idli. I love to eat this chutney with mooli paratha.
Coriander chutney
You need some fresh coriander leaves for making coriander chutney. Then add coconut flesh, coriander leaves, green chili, ginger, and water. Blend them well and your coriander chutney is ready. You can also use mint leaves.
Coconut chutney with peanuts and yellow dal
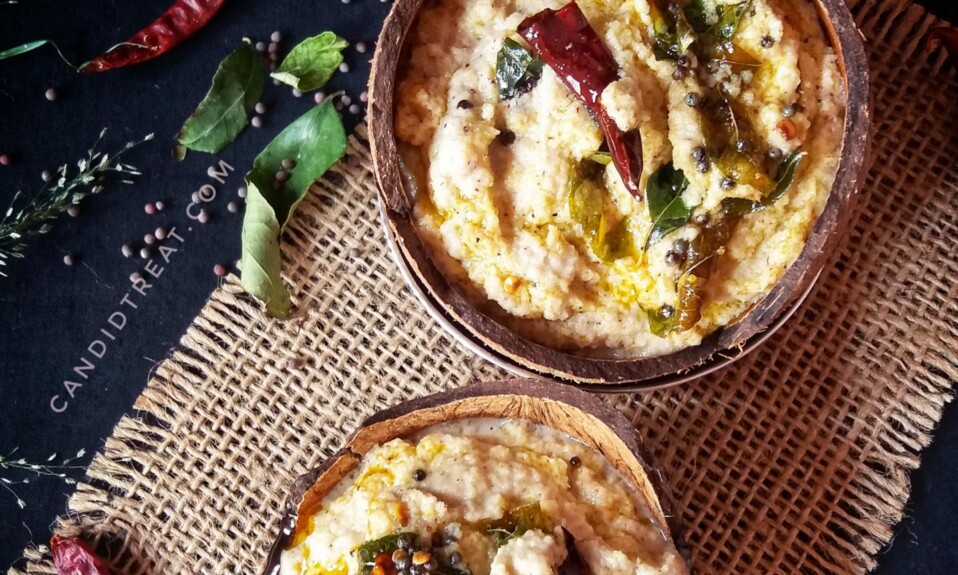
Here, we make this chutney with some peanuts and dal. You need to dry roast the peanuts and yellow dal. Then, grind it with some coconut, ginger, green chili, tamarind pulp, salt, and some water. Use fresh coconut because fresh coconut has a more rich and creamy taste and texture. And peanuts enhance the richness of the chutney.
After that, temper it with mustard oil, black mustard seeds, dry red chili, asafoetida, and some curry leaves. Do not forget to use curry leaves. The mustard oil has an earthy and strong taste, which gives a kick to the chutney.
Ingredients
- 1 fresh coconut flesh
- 1 tablespoon yellow dal
- 10 to 12 peanuts
- 1 teaspoon tamarind paste
- 1 to 2 small piece of ginger
- 2 green chili
- 1 tablespoon salt
- 10 to 15 ml of water
Tempering
- 1 tablespoon mustard oil
- 1 teaspoon of asafoetida
- 2 dry red chili
- 5 to 6 curry leaves
- 1 teaspoon black mustard seeds
| Preparation time | 10 minutes |
| Total time | 20 minutes |
How to make coconut chutney?
Take a small bowl. Add a piece of tamarind with some water and soak it for 5 to 8 minutes.
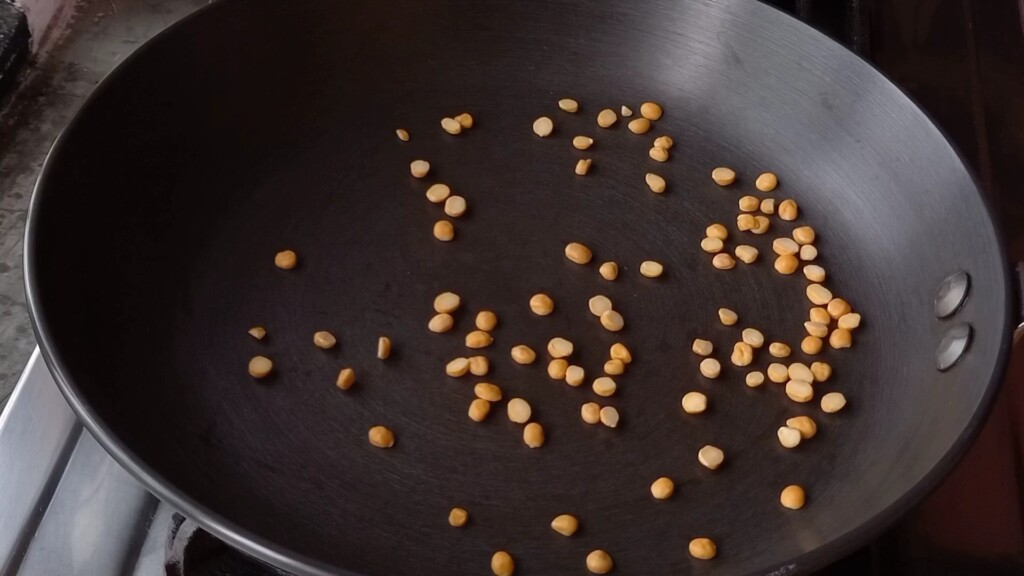
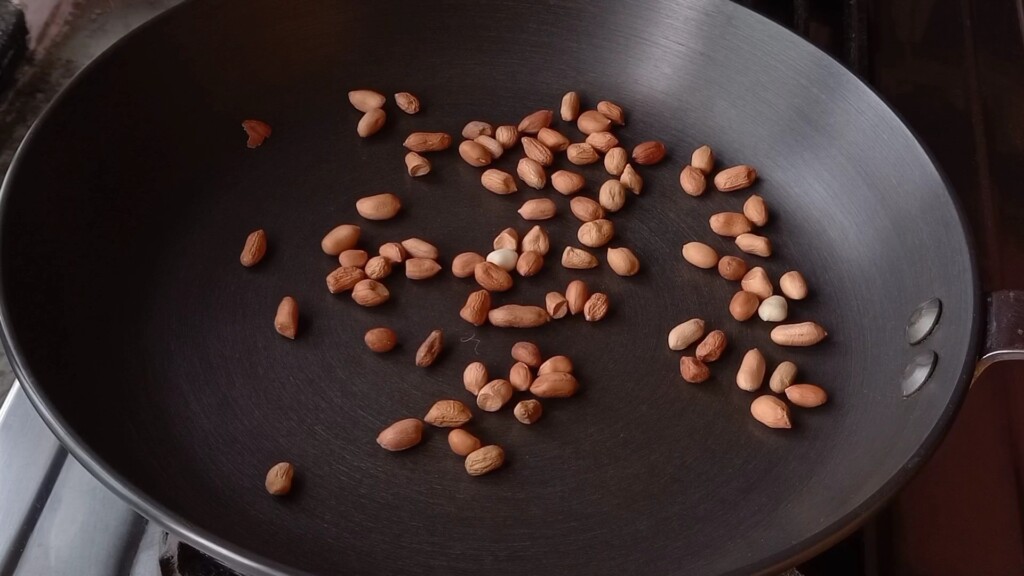
First, dry roast some yellow dal to remove the raw flavor from them.Then dry roast them on low flame takes 2 to 3 minutes. Set aside. Then, dry roast the peanuts on low flame. It takes 5 to 8 minutes. After that, remove the skin of peanuts and set aside.
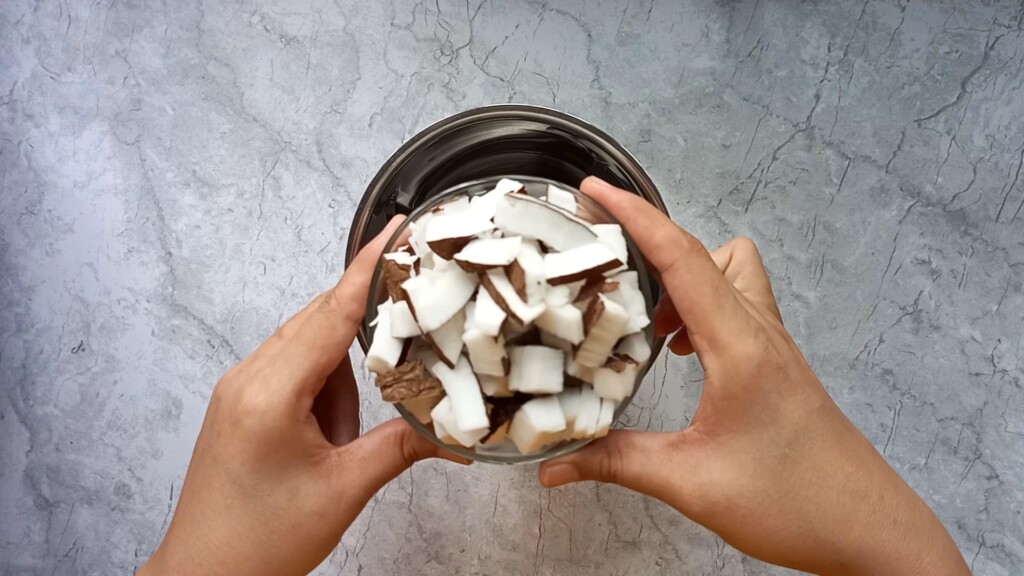
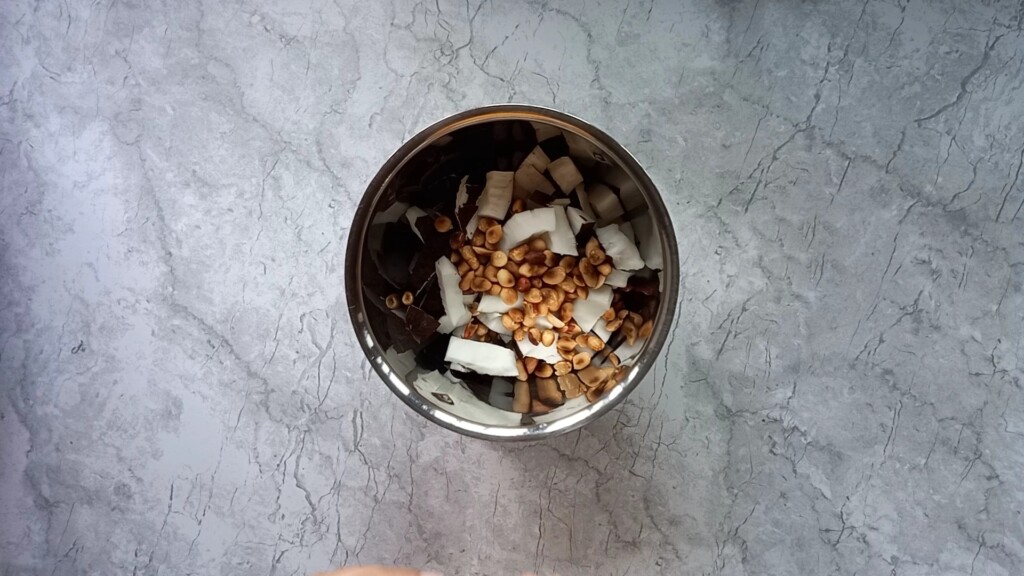
Now, take some fresh coconut flesh. Chop it into small piece, or you can also use frozen coconut. Add yellow dal. Add peanuts.
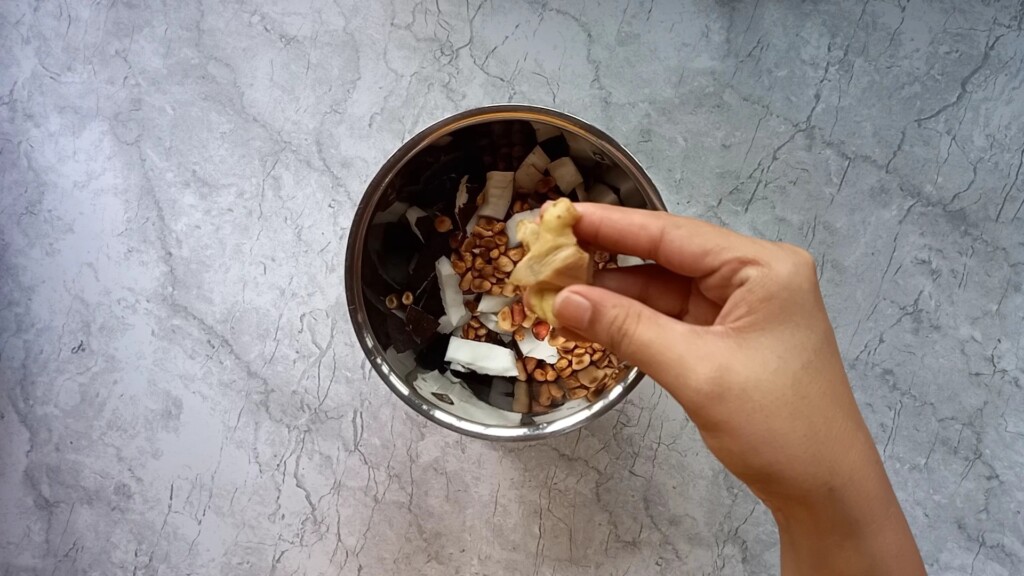
Add ginger and green chili. Now, smash the tamarind,d remove the see, and add the tamarind puree.

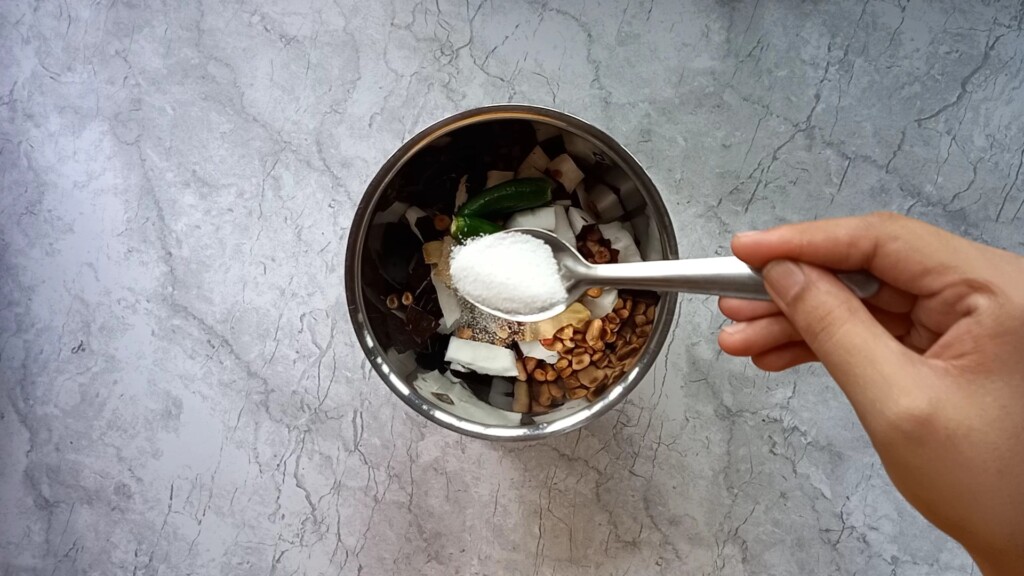
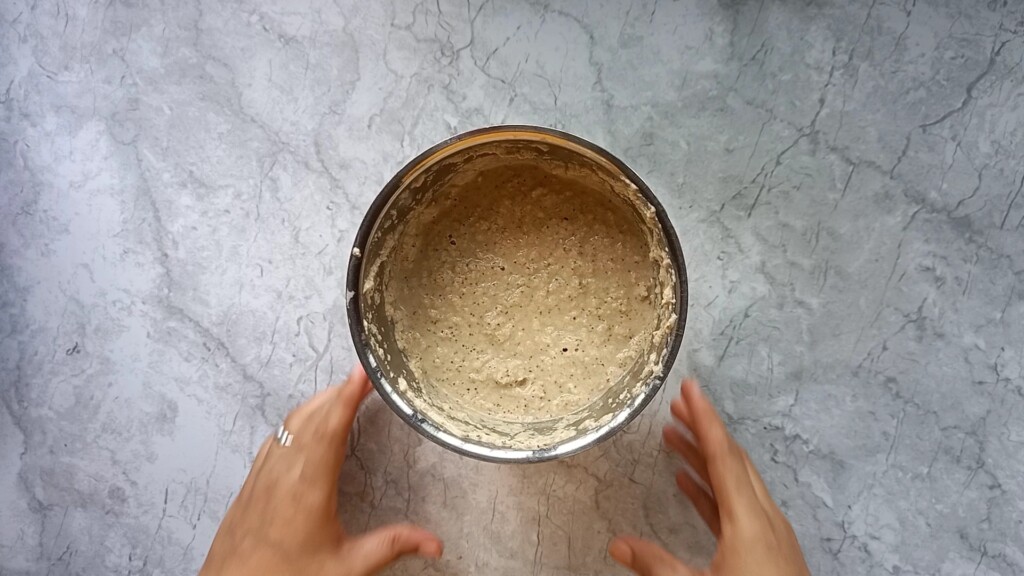
Add some water. You can adjust the water quantity. Add a little amount of water at a time. Now grind it into fine puree. After first grinding, it looks like this. Add salt. Then again grind it. After that, pour it in any container.
Tempering for coconut chutney
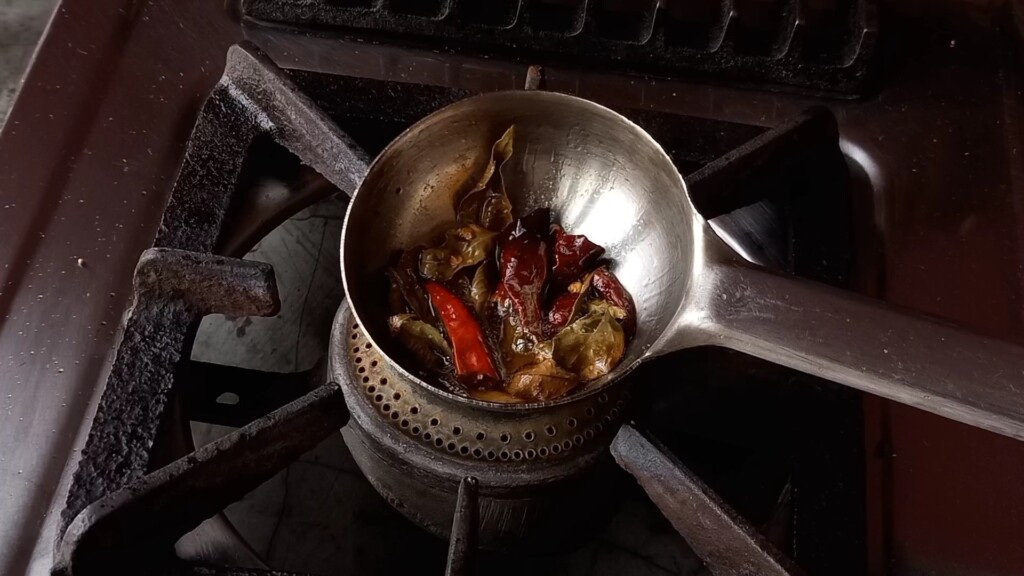
Take a small pan. Add mustard oil. Heat it for 30 seconds on a high flame. Then add asafoetida. Keep the flame low; otherwise, you can burn your tempering. Add mustard seeds and dry red chili. Add curry leaves. And turn off the heat.
Pour the tempering onChutney and mix it. Coconut chutney is ready to eat.

Storage suggestion
You can store this chutney in the refrigerator for about 3 to 4 days. Store this in an airtight container. But the flavor of chutney may change after 1 day because it has tamarind, and tamarind turns sour after 1 day. But some of them like that sour flavor, or if you want to enjoy creamy flavor, then make this chutney fresh.
Some other recipes…
- Kadai Paneer Recipe (How To Make Kadai Paneer)
- Kanda Poha Recipe – How To Make Poha
- Instant Dosa Recipe(Without Fermentation Method)
- Rava Dhokla Recipe | How To Make Instant Rava Dhokla
- Upma|Rava Upma|Semolina Upma Recipe
- Potato Sandwich Recipe | How To Make Potato Sandwich
- Potato Cutlet | Potato Stuffed Rava Cutlet | Veg Cutlet Recipe