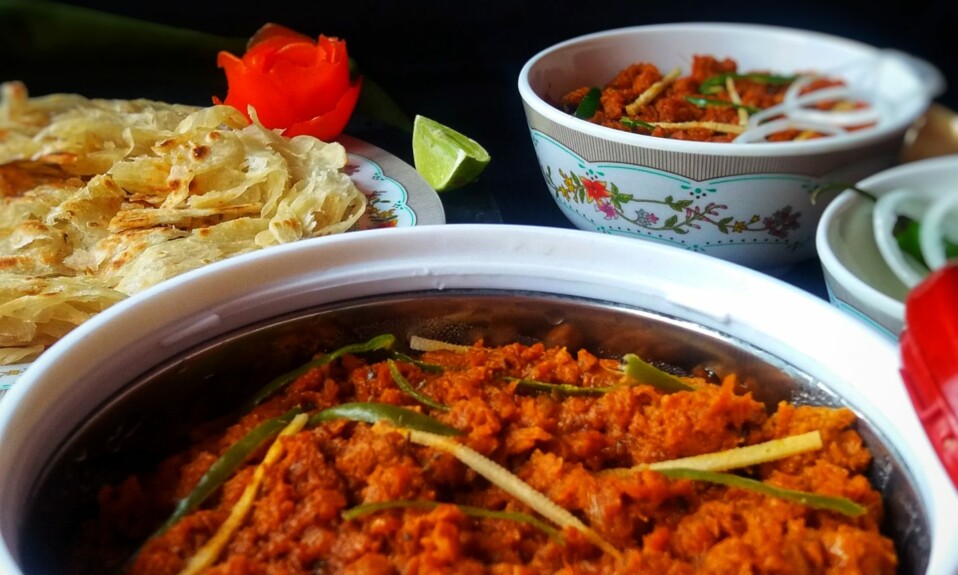
Soya keema is the popular vegetarian version of keema. This is also known as vegetarian meat which is full of protein. Soya chunks are a good source of protein and widely used in Indian cuisine. If you are vegetarian then add these soya chunks in your meal because it is very healthy and nutritious. Soya keema recipe with step by step photos. Scroll down for more…

Soya Keema Recipe
Soya keema recipe can be prepared with either soya chunks or with soya granules. You can also use minced soya chunks. Here, I am using soya chunks for this recipe. This recipe is similar to mutton or chicken keema but here we are using minced soya granules. Soya has no taste on its own so we need to add more flavor to it.
I am not a big fan of soya but this recipe changed my thought about the soya. This is the tastier version of the soya recipe I ever tasted. So if you are or not a fan of Soya, give a try to this recipe and I am sure you also love this veg keema. It can be served with Roti, rice, paratha, or with Naan. It also goes well in the lunch box.
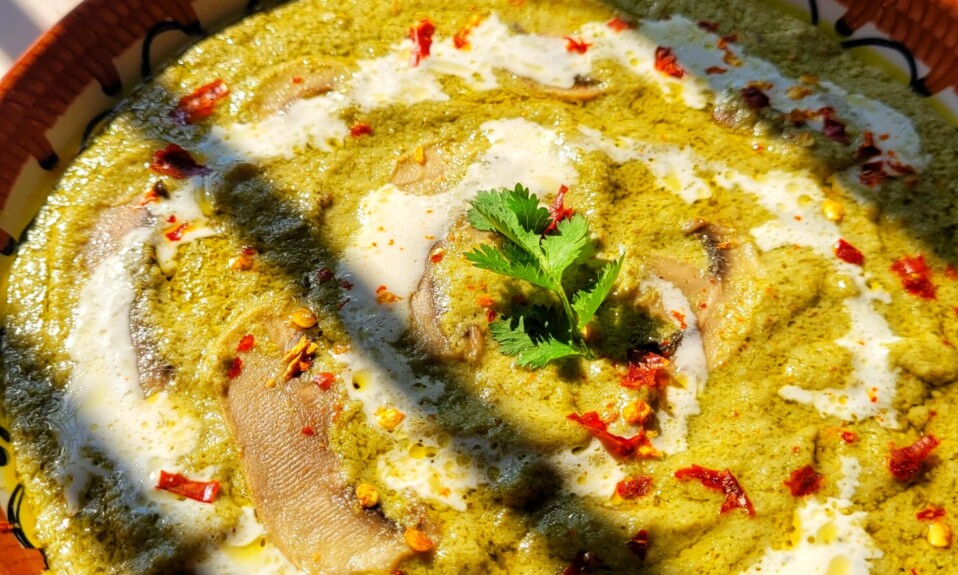
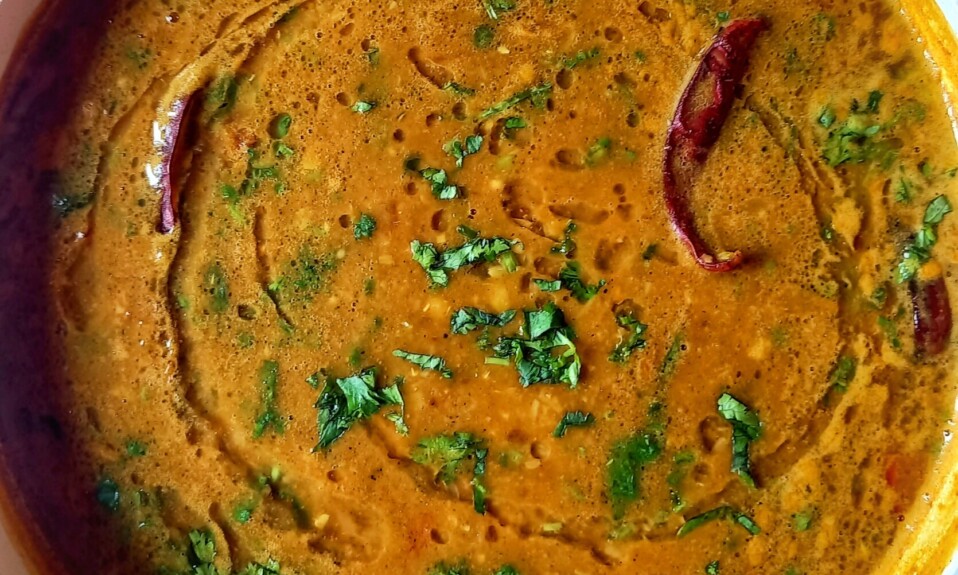
Some similar curry recipe…
- Kashmiri Dum Aloo/Dum Aloo(How To Make Dum Aloo)
- Kadai Paneer Recipe (How To Make Kadai Paneer)
- Rajma Recipe| Kidney Beans Curry| How To Make Rajma Curry
- Raw Banana Curry Recipe (How To Make Banana Curry)
- Capsicum Curry Recipe: How To Make Capsicum Curry
Some Tips For Perfect Keema
Use best soya chunks Quality always matters. Especially in cooking, use the best quality soya chunks.
The grinding of soya doesn’t make the fine paste of soya. Grind it in a food processor or if you are using a mixture grinder then always keep an eye on chunks because we need a keema-like texture.
Use fresh ginger and garlic puree and fresh curd. It gives more flavor to your keema.
Use meat masala powder don’t worry meat masala powder is not non-veg but just the mixture of spices. Use this powder because soya is rather tasteless, so we need to add spice in it.
INGREDIENTS
- For keema marination
- 1 cup soka chunks (I used 1 packet of rs. 10)
- 1 tablespoon ginger and garlic paste
- 1/2 tablespoon turmeric powder
- 4 to 5 tbsp curd
- 1 tablespoon coriander powder
- 1/2 tablespoon dry fenugreek leaves
- For gravy
- 1/4 tablespoon cumin seeds
- 1 bay leaf
- 2 Cinnemon sticks, 1 green cardamom, 1 black cardamom, 2 to 3 cloves, 2 dry red chilies
- 2 onions chopped
- 3 tomato puree
- 2 to 3 green chillies
- 1 tablespoon salt
- 1 tablespoon red chili powder
- 1 tbsp Coriander powder
- 1 tbsp meat masala powder or garam masala powder
- 1/2 tablespoon turmeric powder
- 1 tablespoon ginger and garlic paste
- 4 to 5 tablespoon mustered oil
- 4 to 5 tbsp clarified butter (ghee)
- 100 ml water
| Cooking time | 1 hour |
| Servings | 4 to 5 |
METHOD
For keema
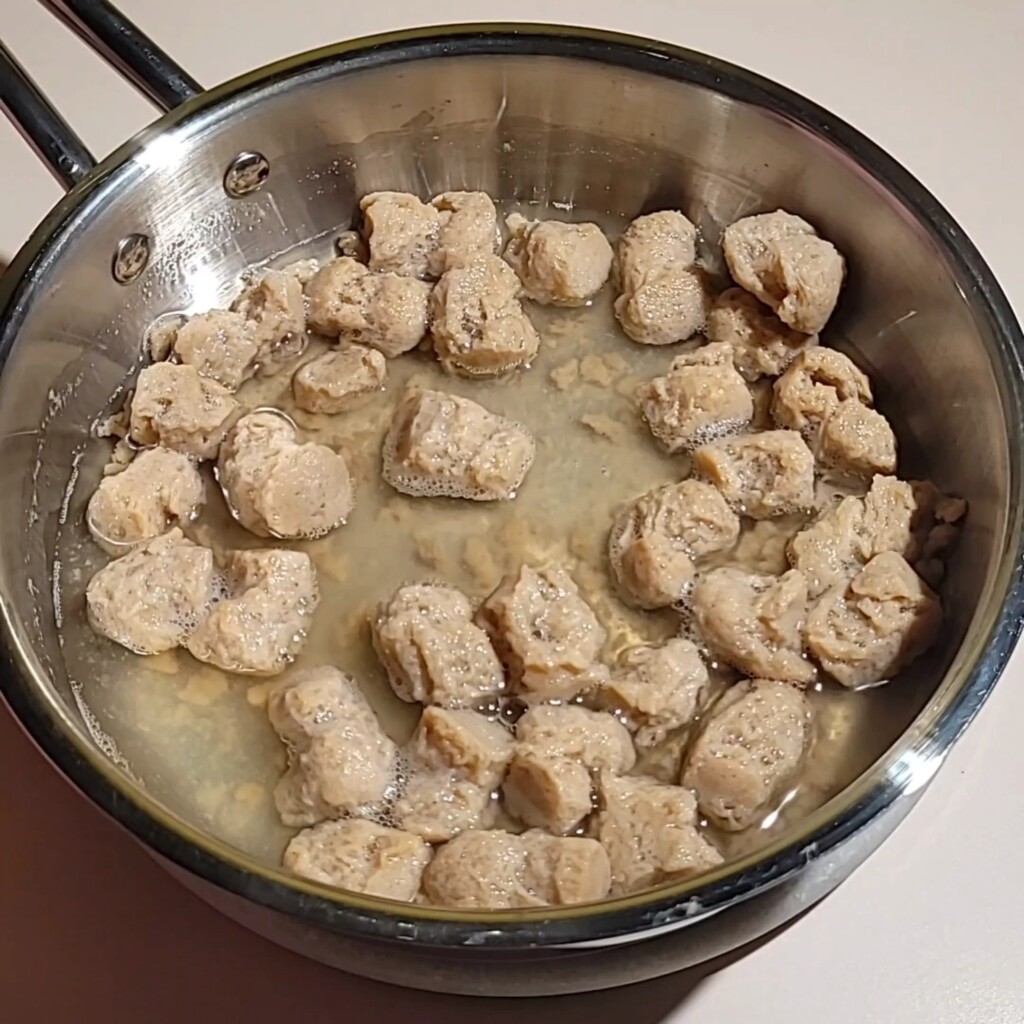
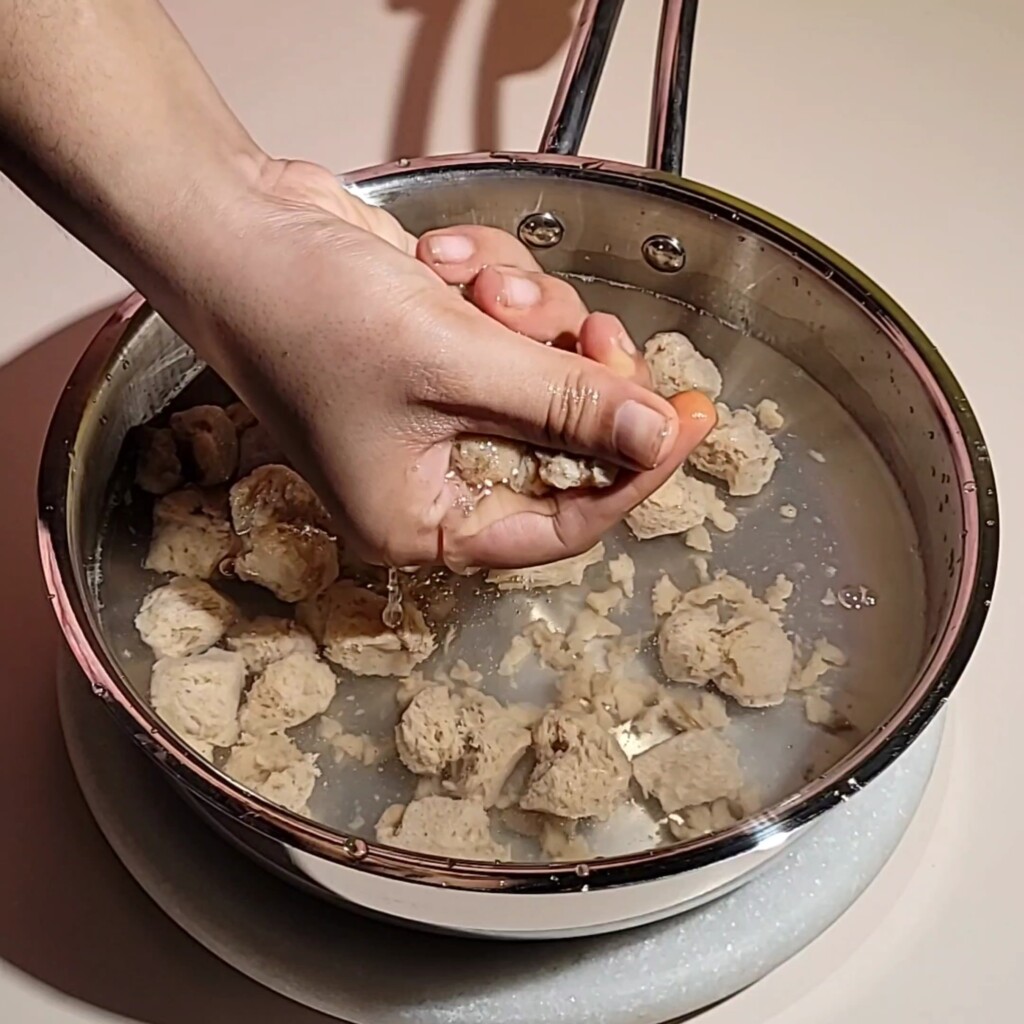
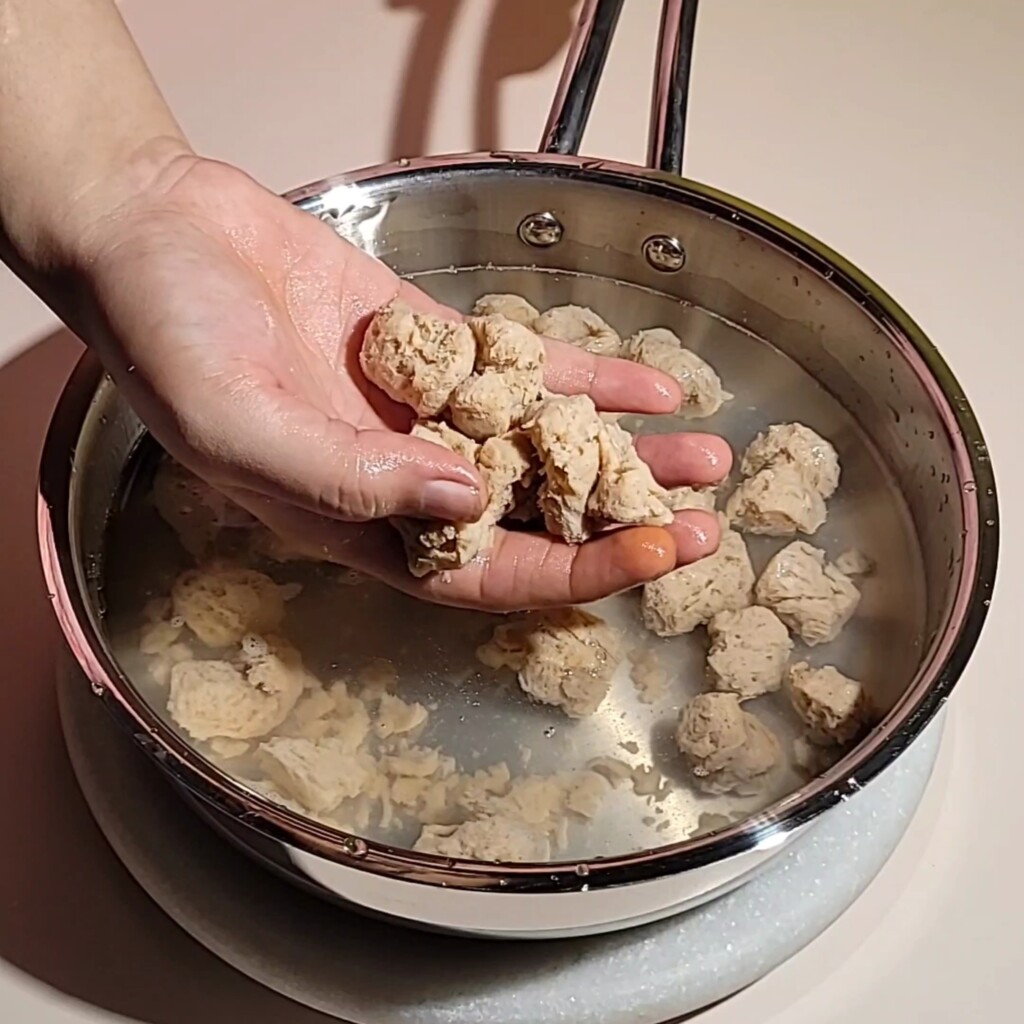
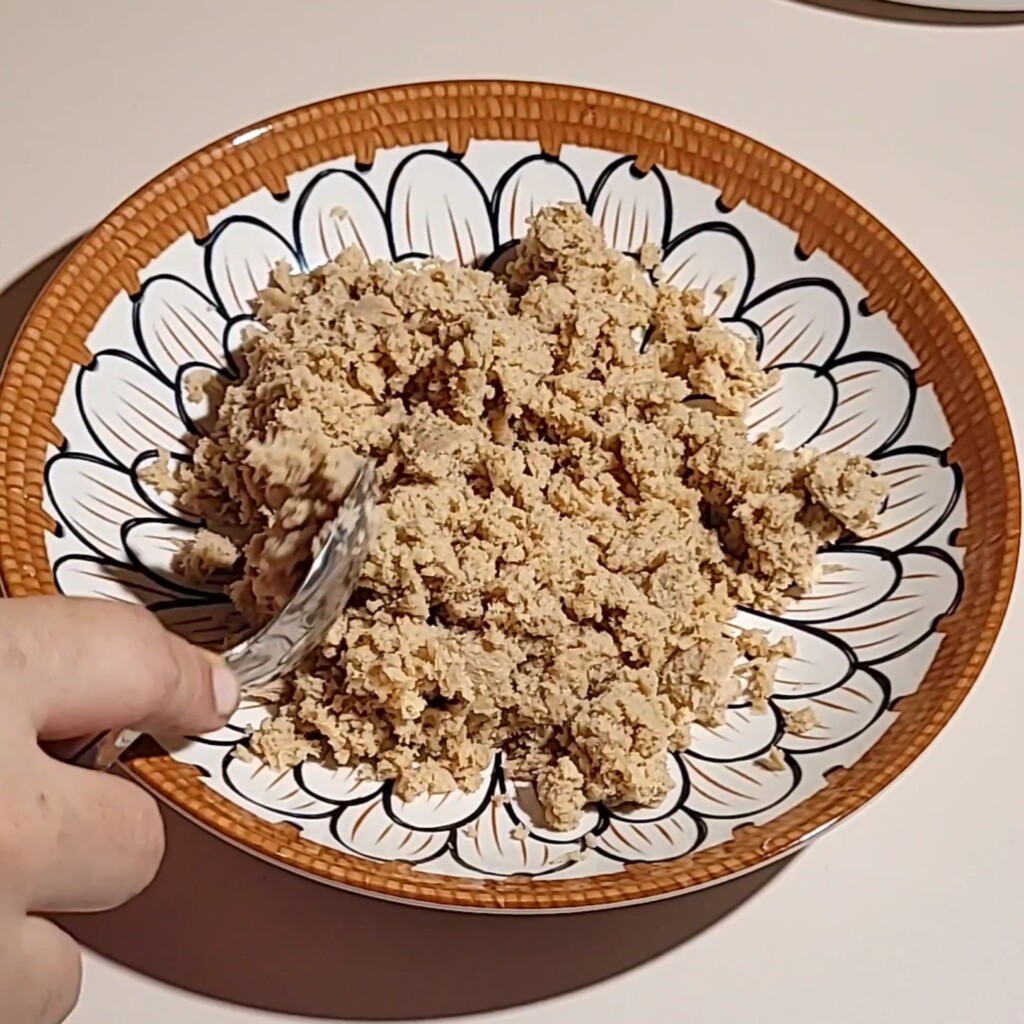
Take a cup of soya chunks and wash with water.Then with some water boil soya chunks for 10 minutes on high flame and leave it in hot water for 5 minutes. Then again wash it with cold water.Squeez of all water from soya chunks.
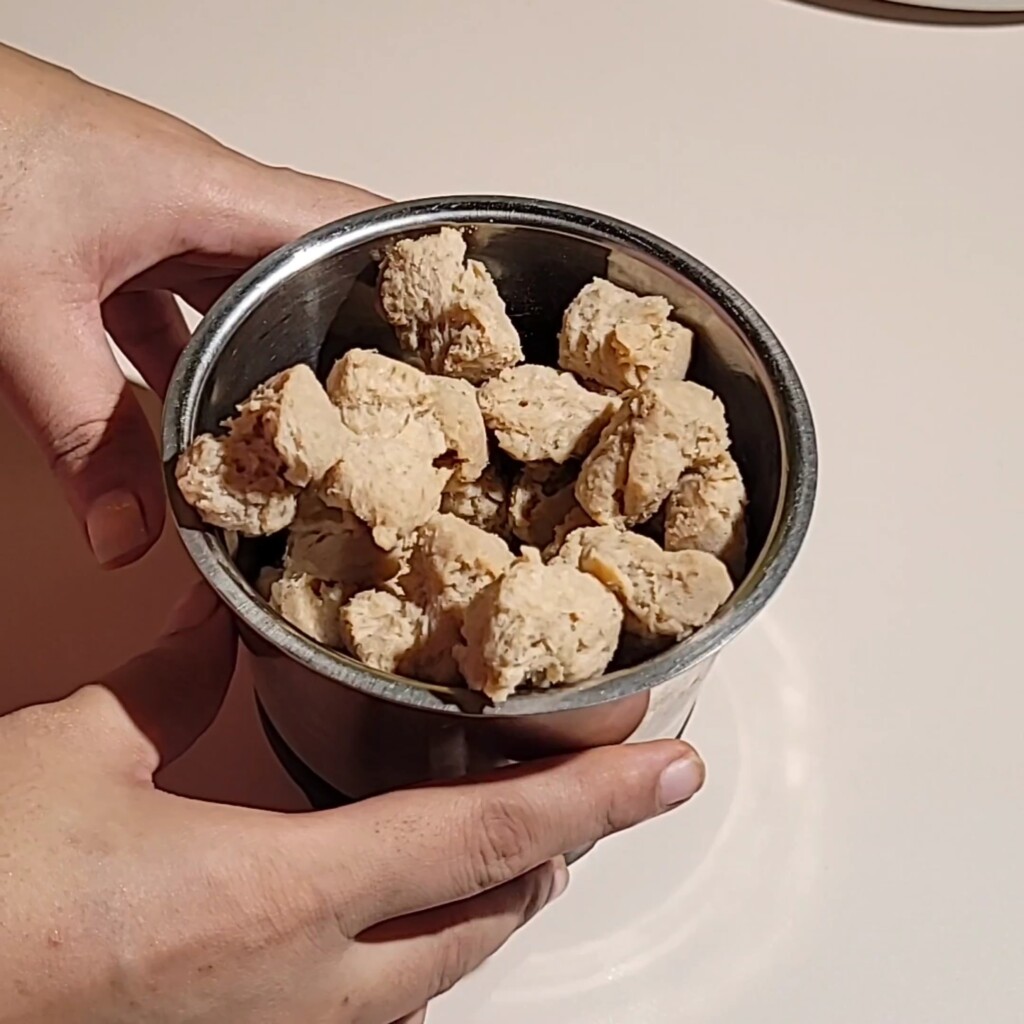
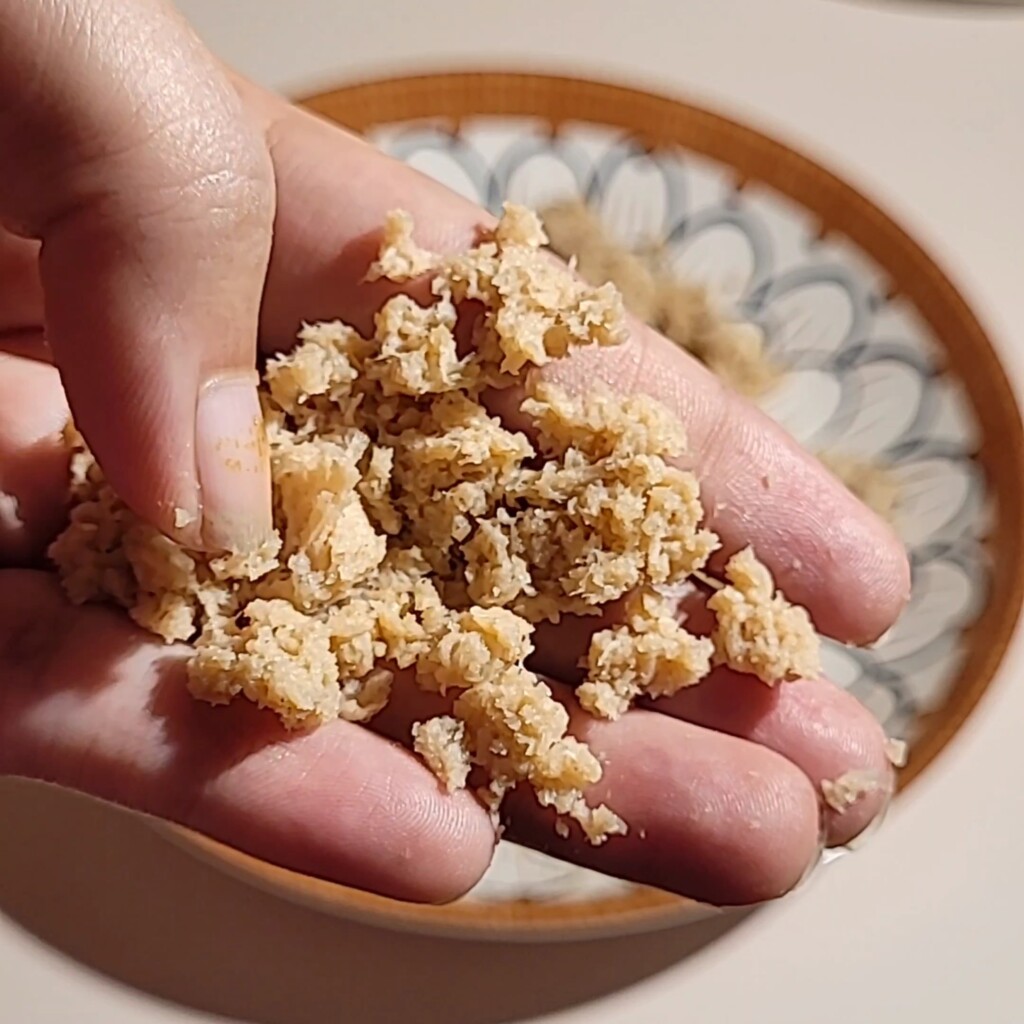
Grind it like keema. We want like this type of texture.
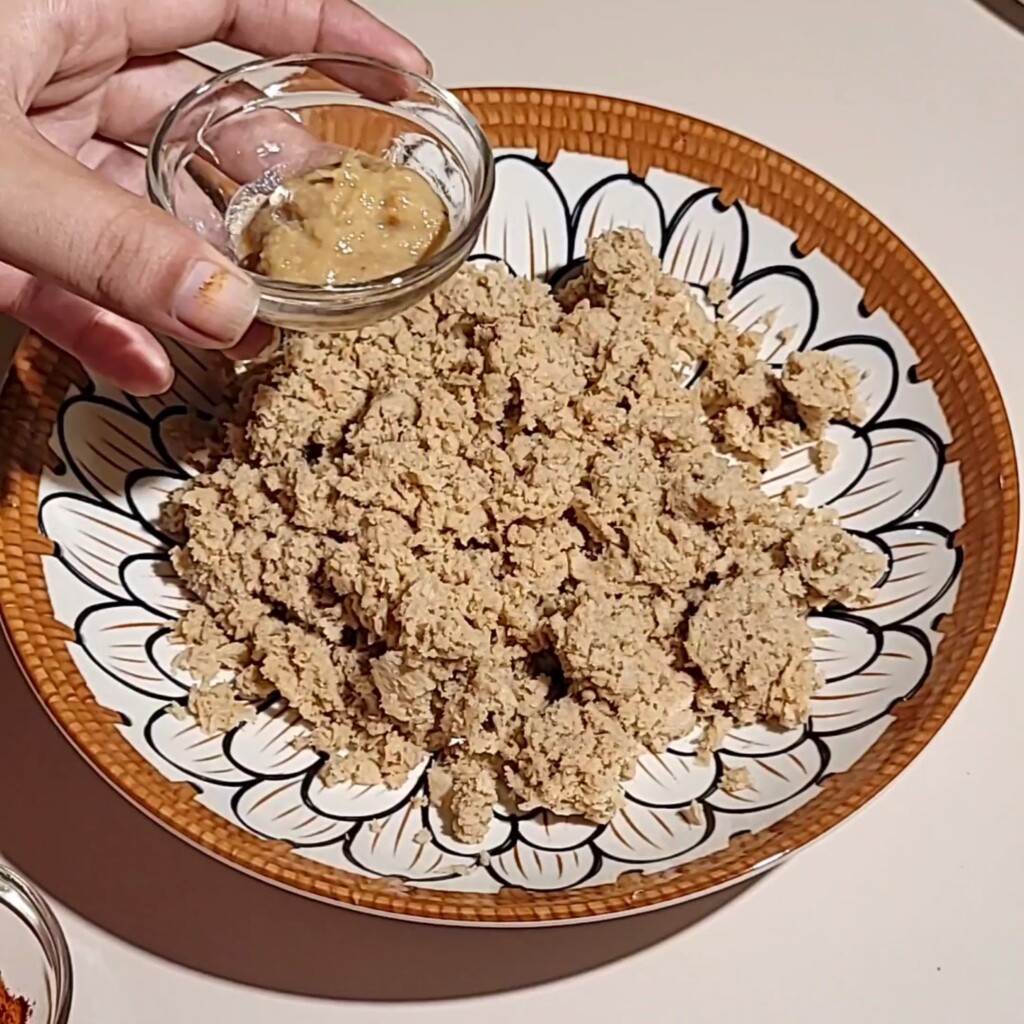
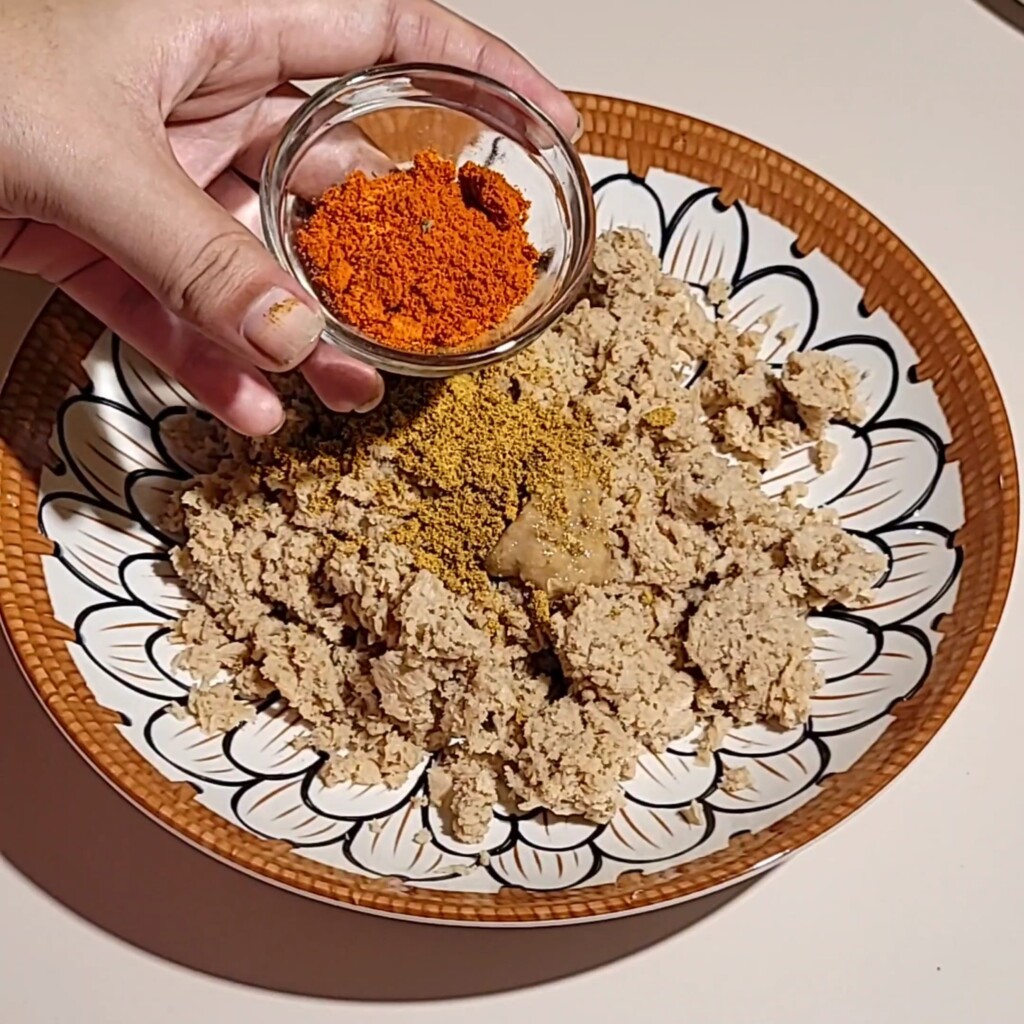
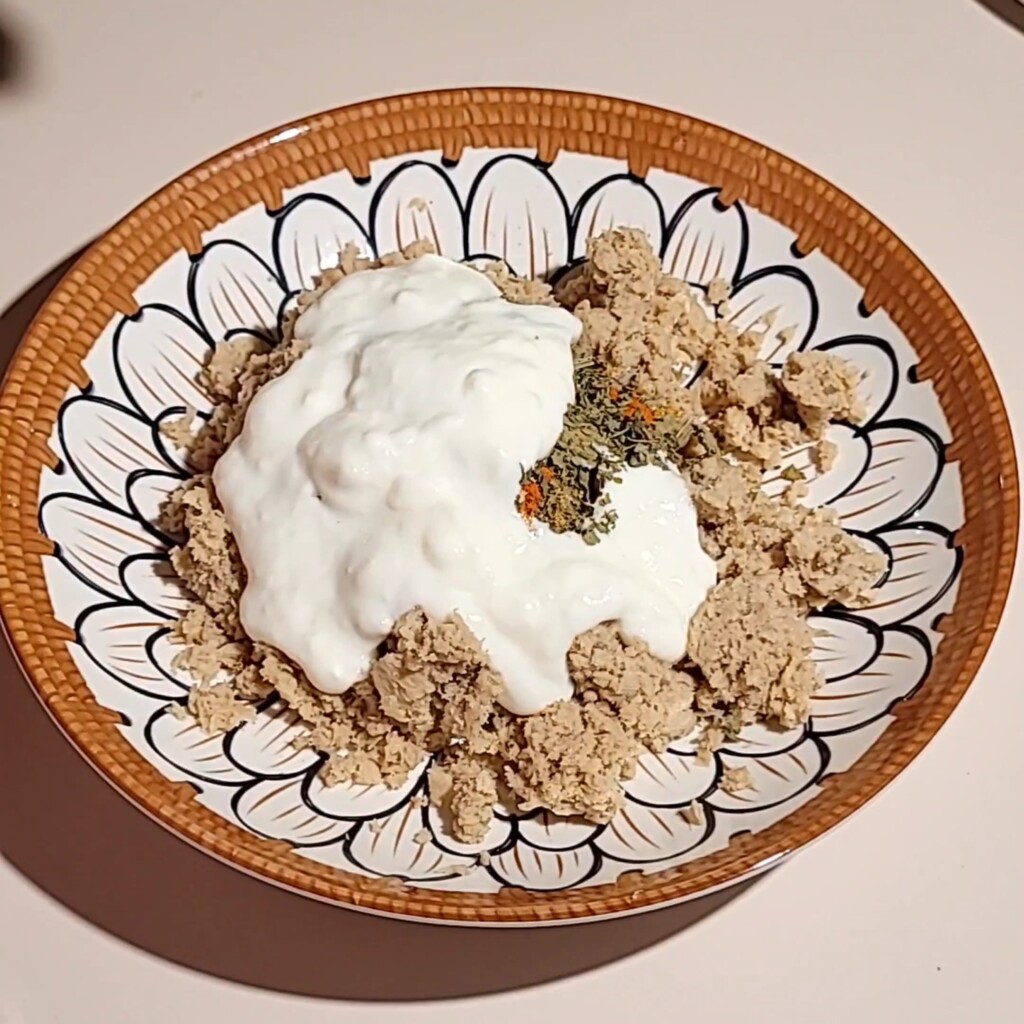
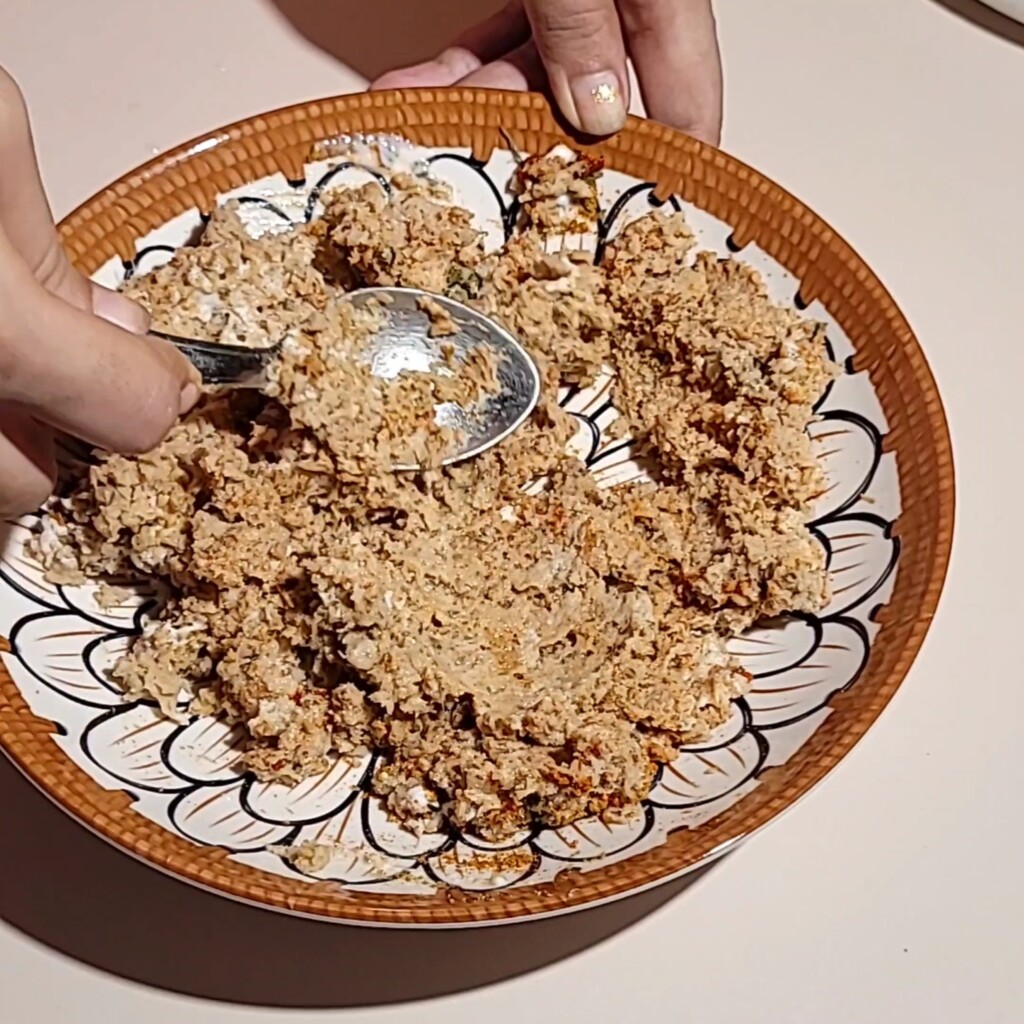
Now add salt. Add turmeric.Add ginger garlic paste into it. Add coriander powder,red chili powder. Add dry fenugreek leaves.And finally add curd into it and mix it and leave it for further cooking.
For garvy
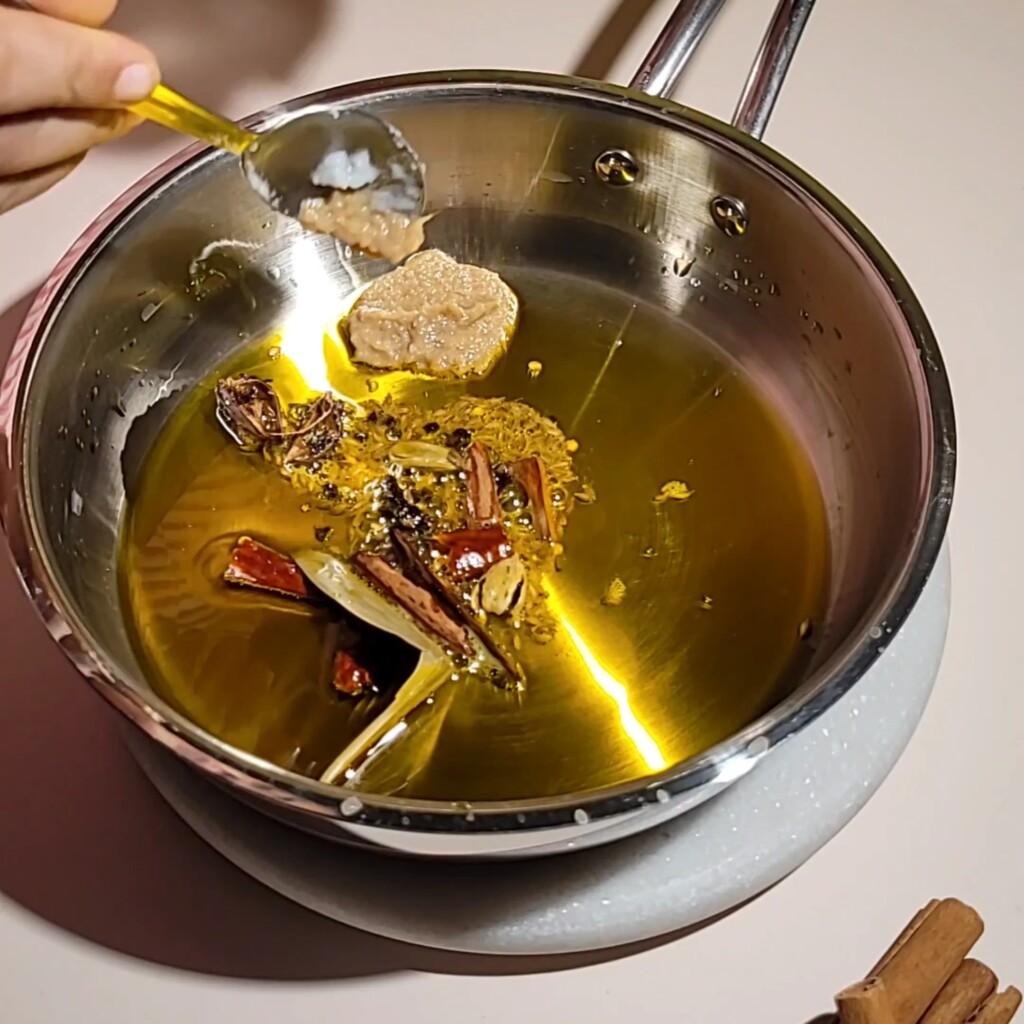
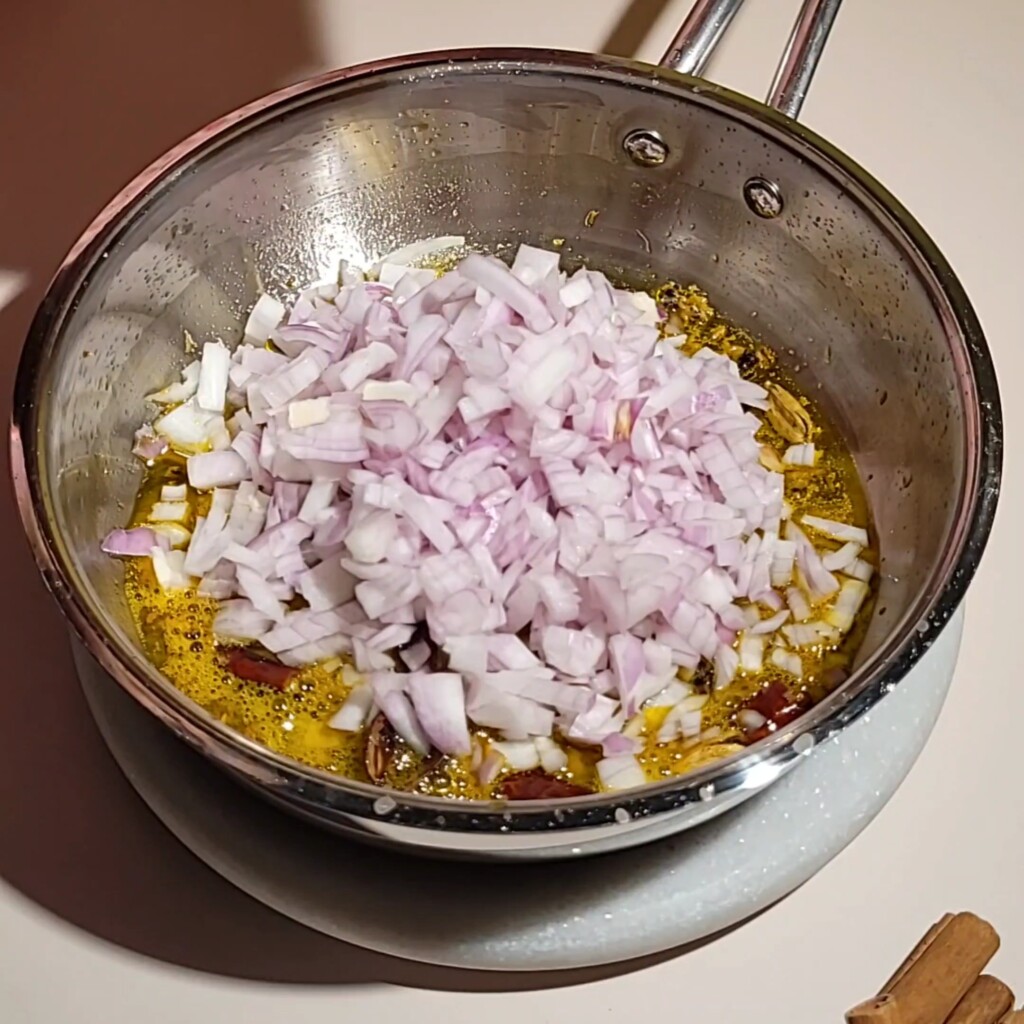
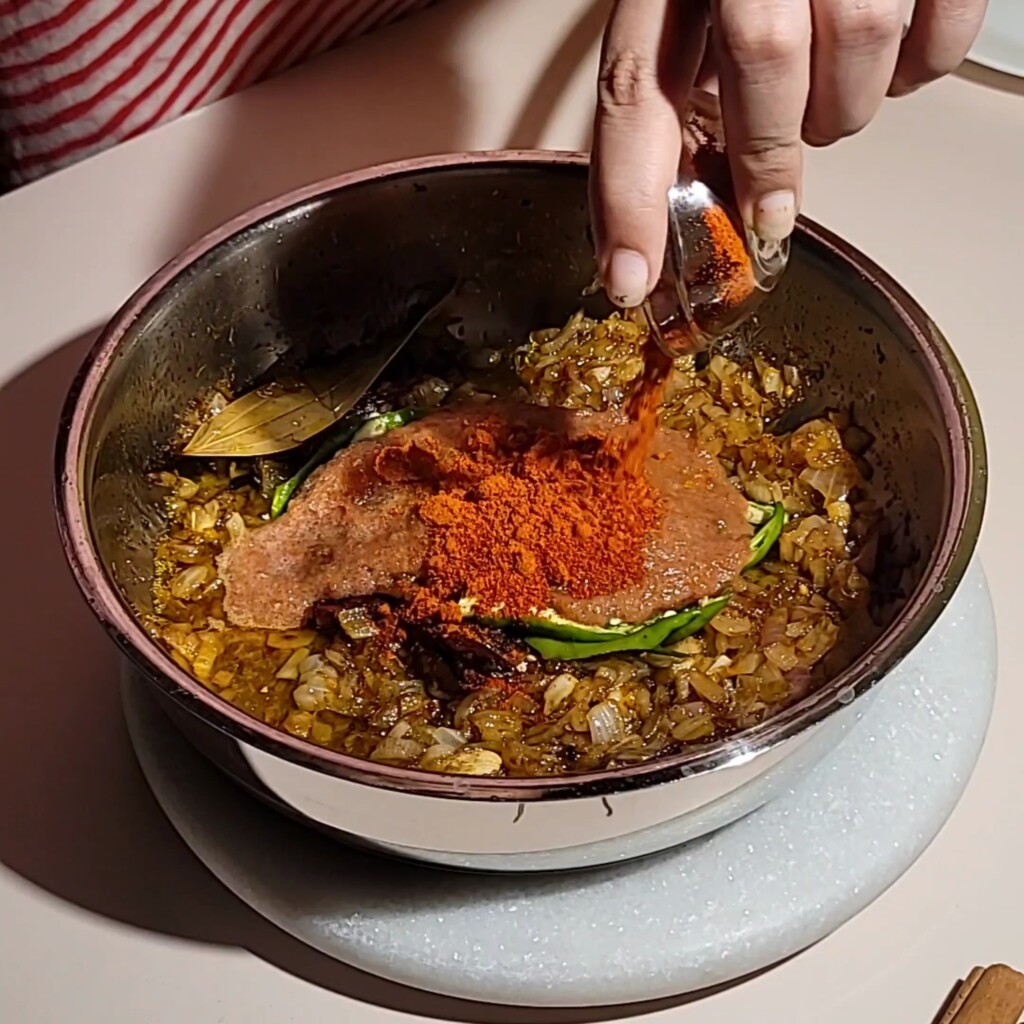
Take a pan add oil and heat it. Then add some cumin seeds and bay leaf, cinnamon sticks, cardamom, cloves. Add chopped onions and ginger garlic paste. Saute for 10 to 15 minutes on medium to high flame.When onions turn into golden then add tomato puree into it. Add green chilies.


Then add salt, turmeric powder, red chili powder, coriander powder and meat masala powder. And cook for 15 minutes on low flame.
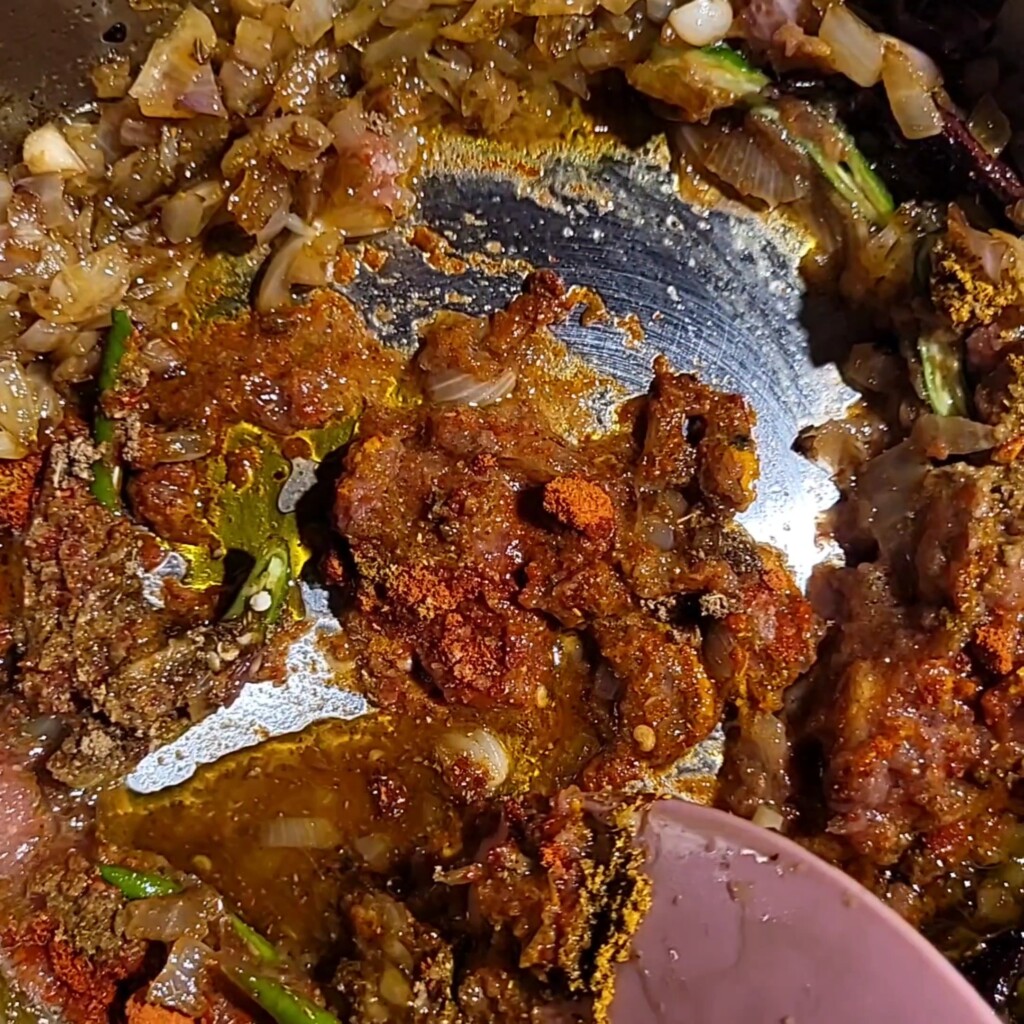
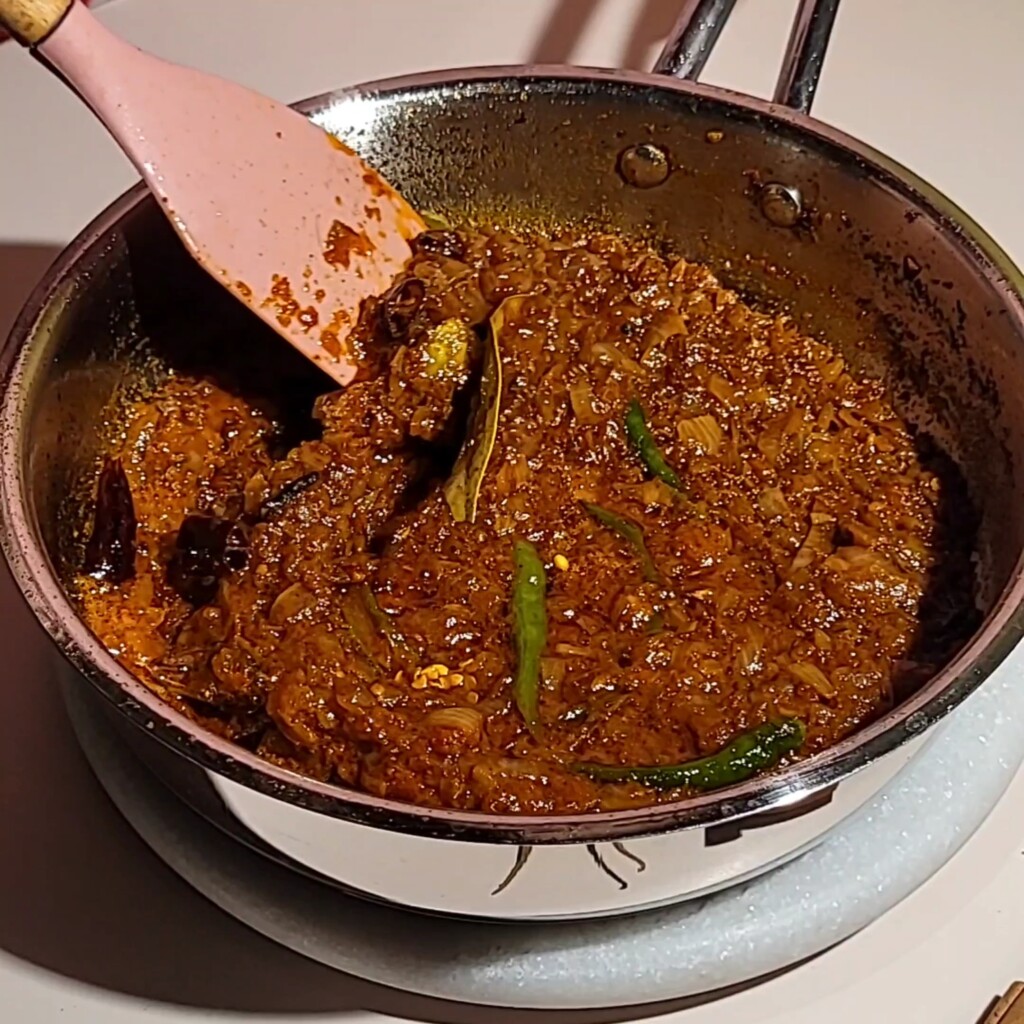
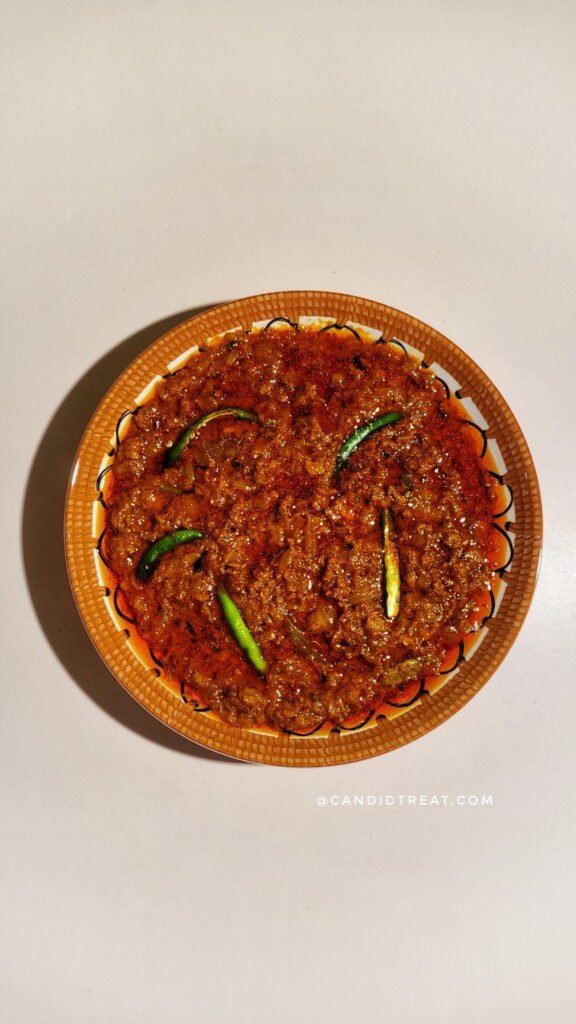
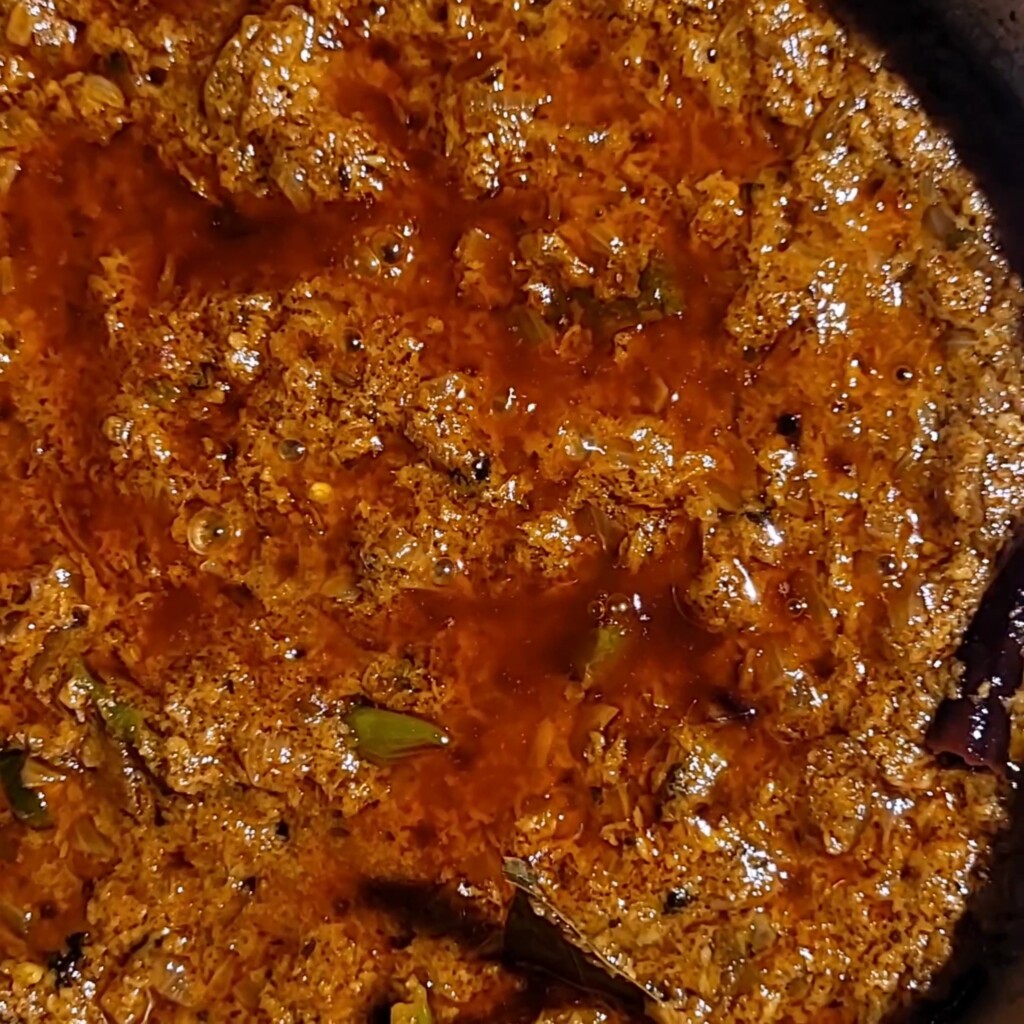
Then add marinated soya keema into it. Sauce for 3 to 4 minutes on high flame. Then on low flame cook for 15 to 20 minutes. When the oil comes on the surface then add little bit water.

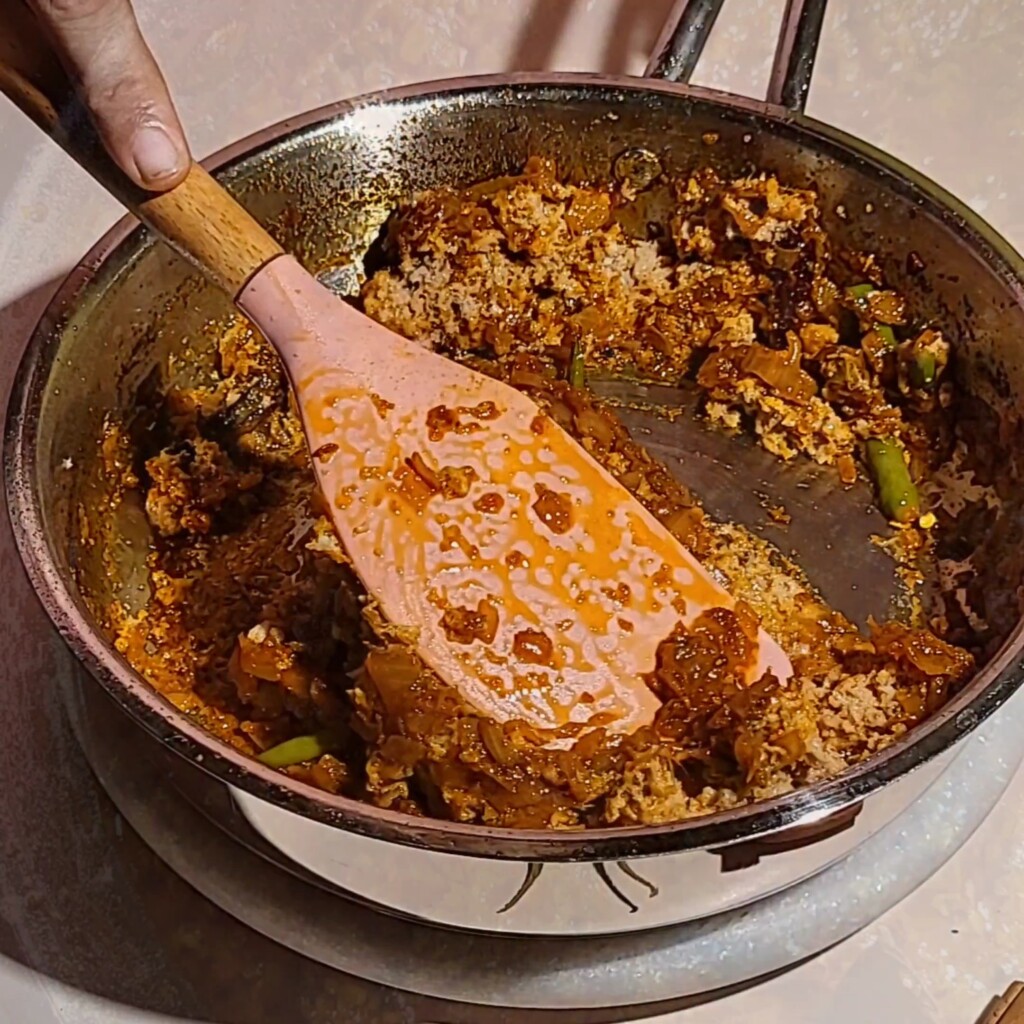
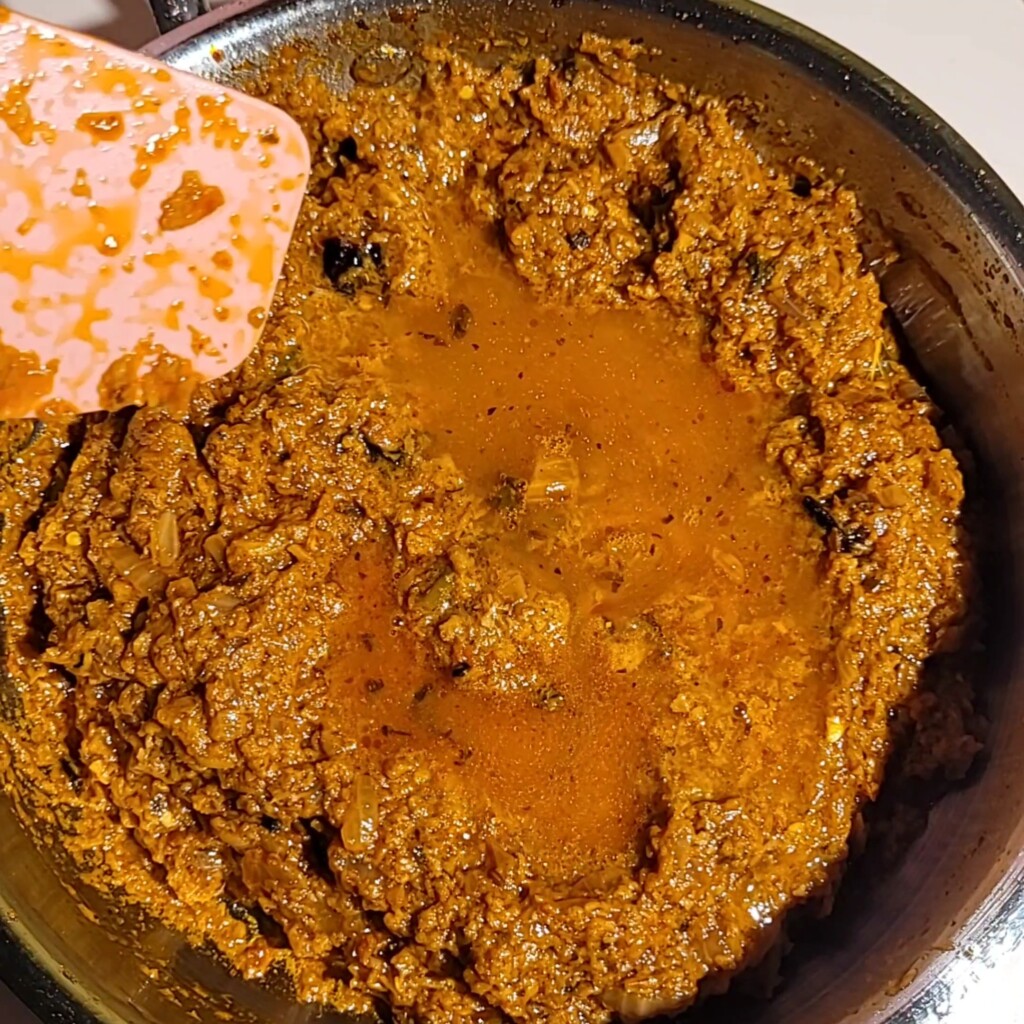
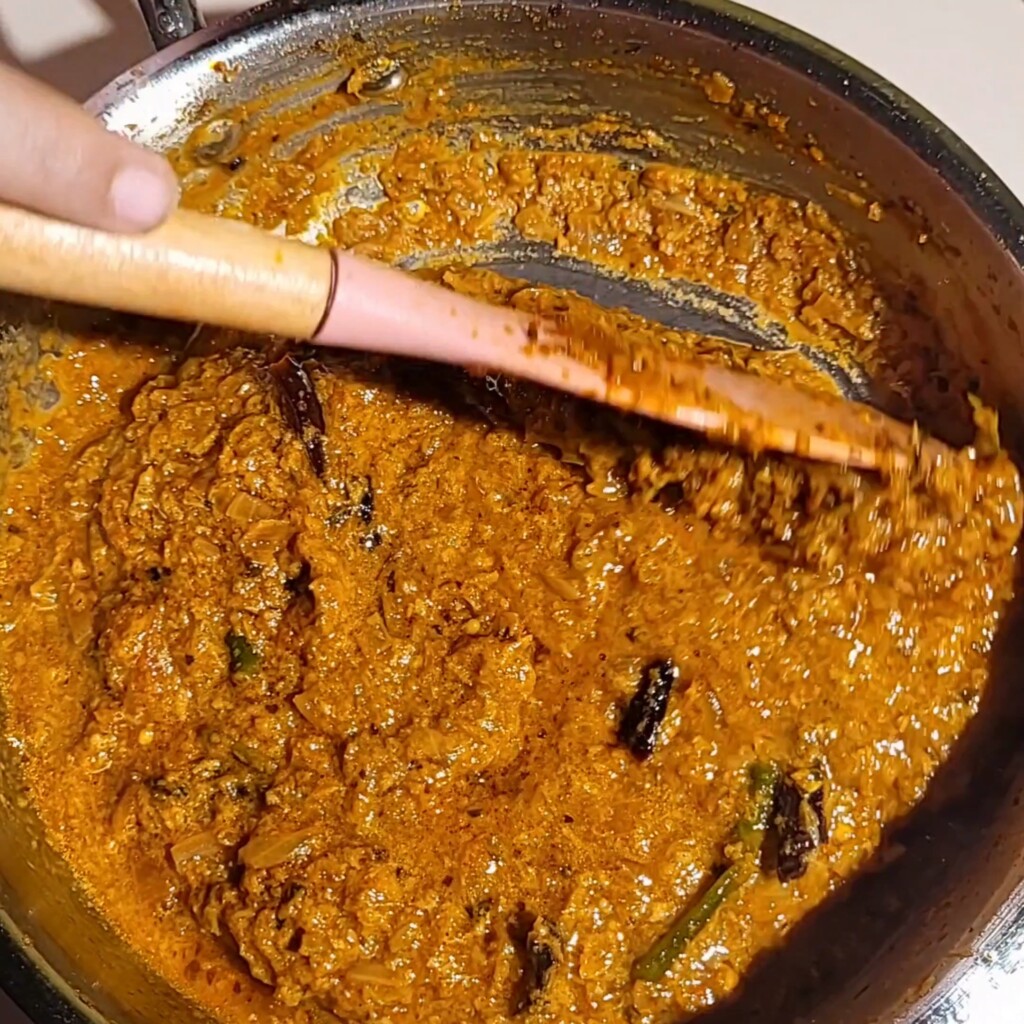
You can add ginger slices(if you like) and cook for more 10 minutes. Then now high flame cook the keema for 3 to 4 minutes until the keema absorbs the water and little bit dry.
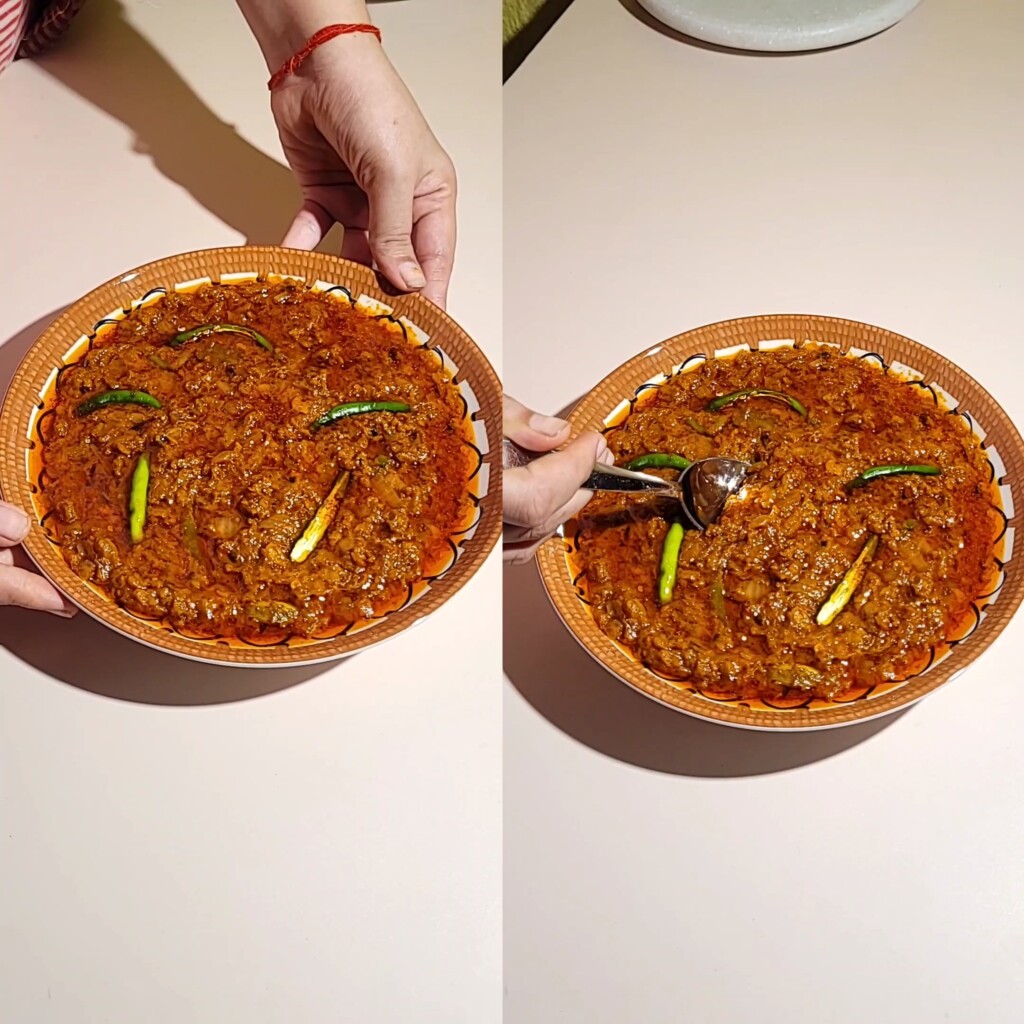
Soya keema is ready to serve. Serve this with LACHA paratha or with naan and some onion slices, lemon wedges inside.